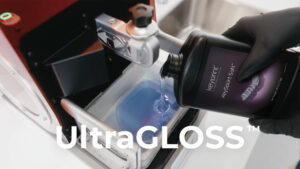
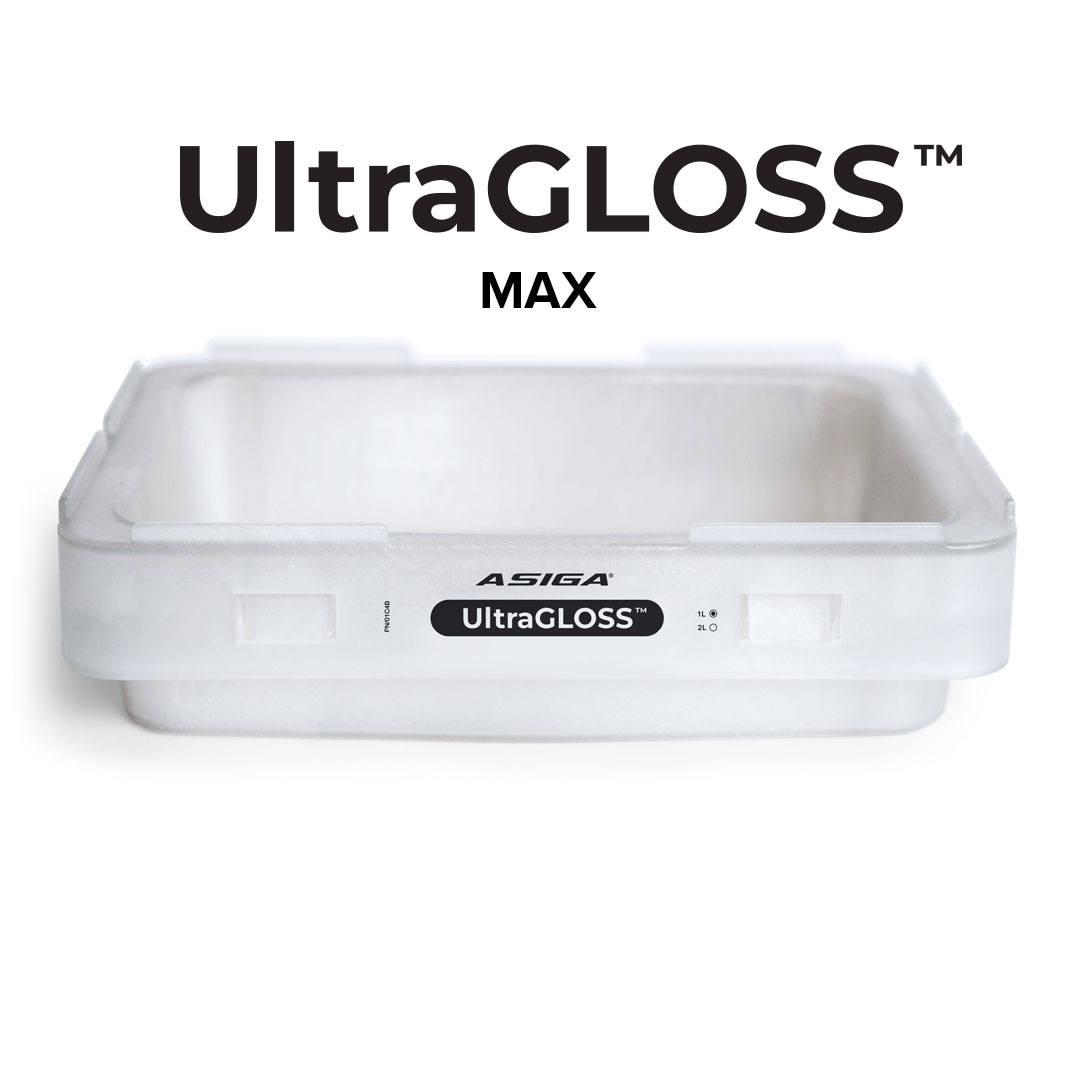
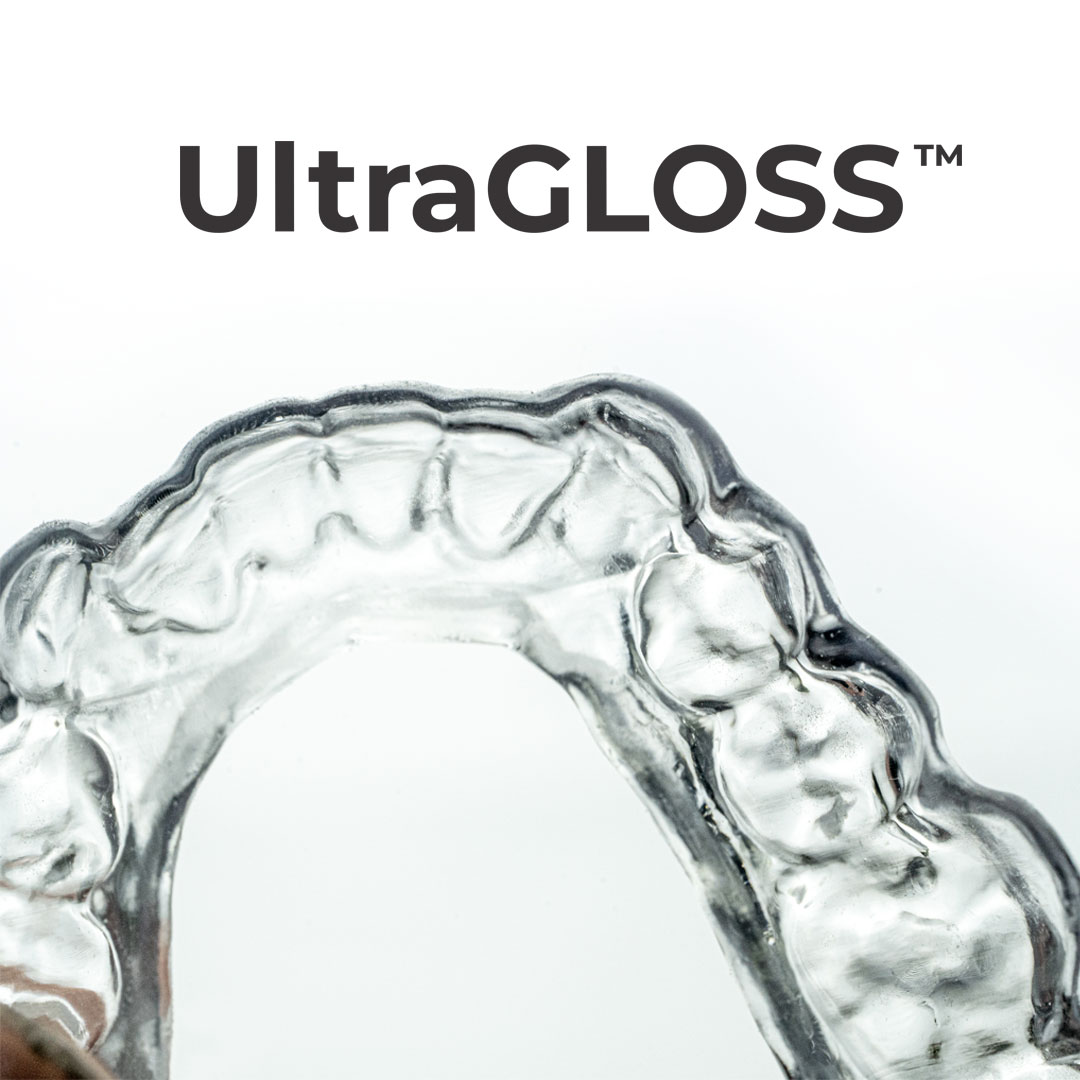
With UltraGLOSS trays, you get bite guards with a shiny and pre-polished surface that does not require manual post-polishing.
Used for bite splints.
kr 1,099
Pre-polished straight from the 3D printer!
With UltraGLOSS™ trays for MAX, you get bite splints with a glossy and pre-polished surface that does not require manual post-polishing.
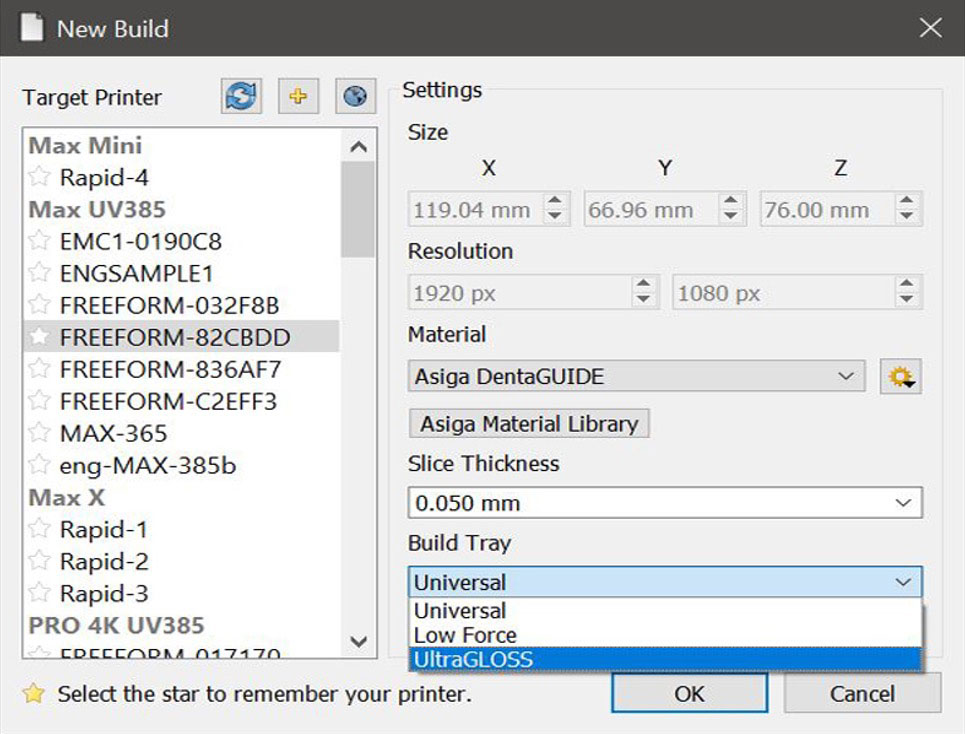
You need to download and use the latest version of Composer. You can find it via your user account on Asiga.com
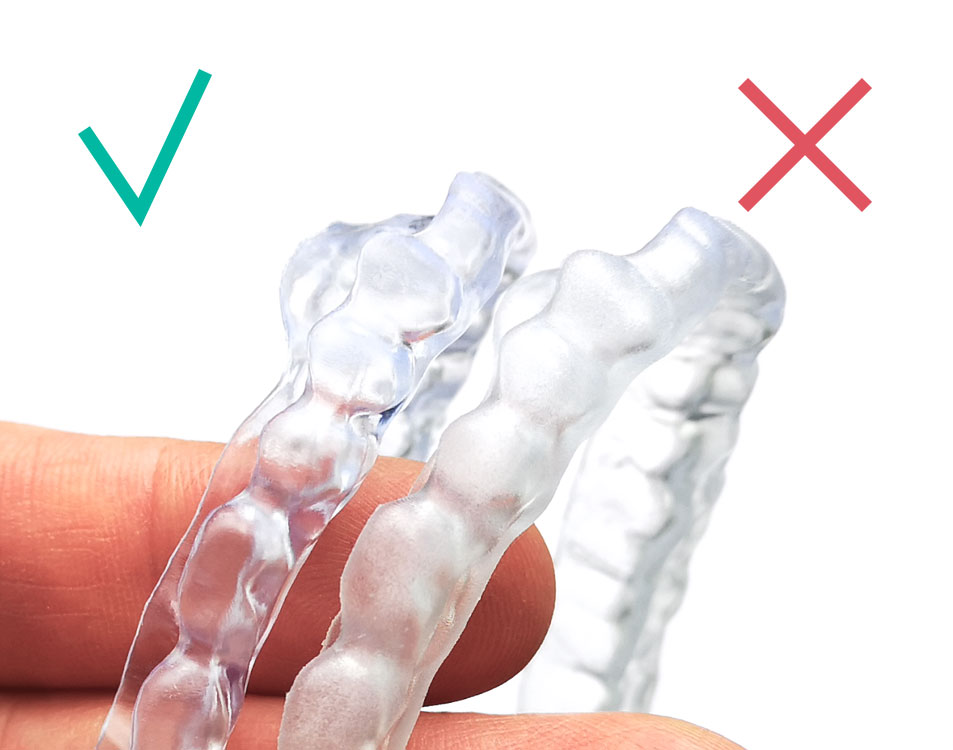
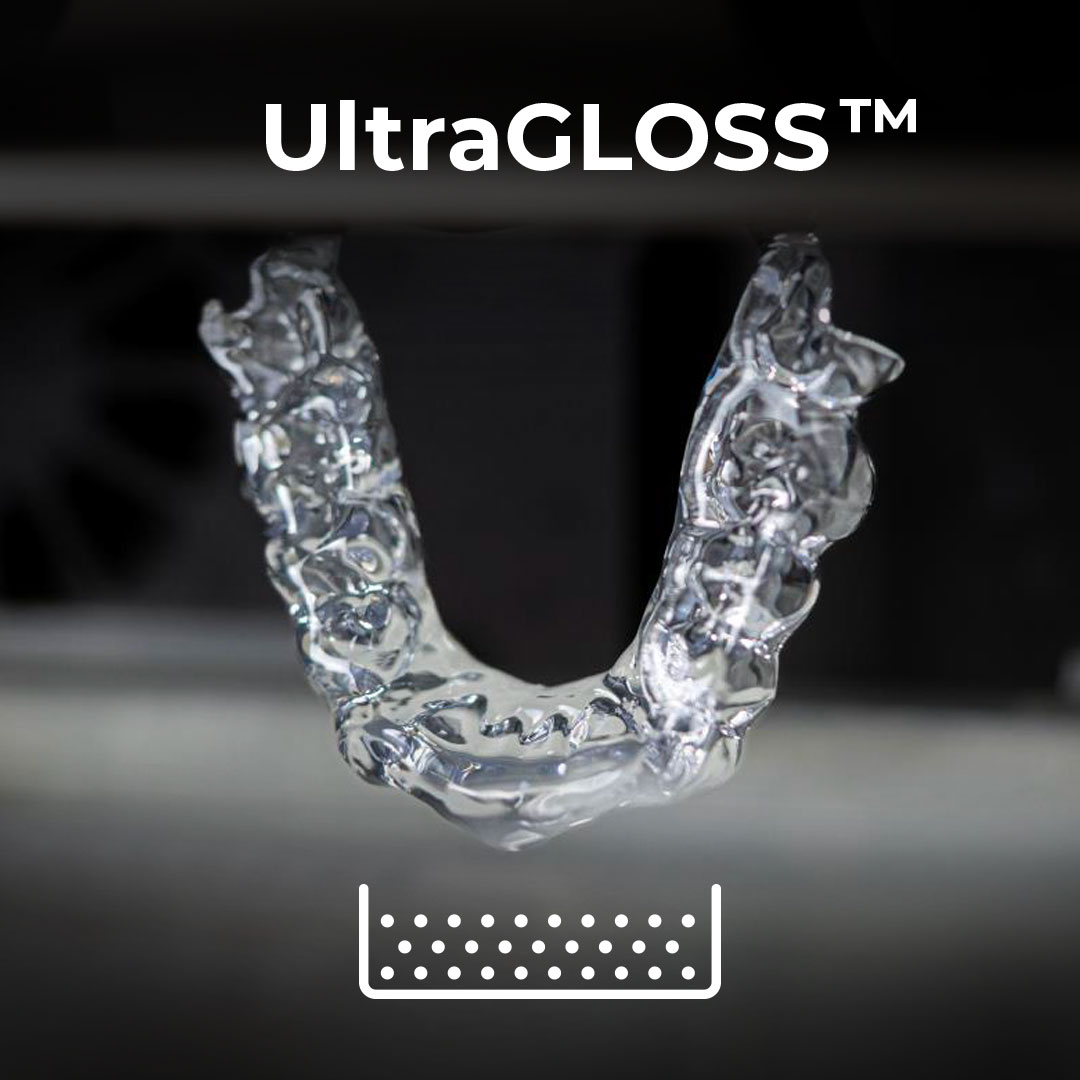
With UltraGLOSS trays, you get bite guards with a shiny and pre-polished surface that does not require manual post-polishing.
Used for bite splints.
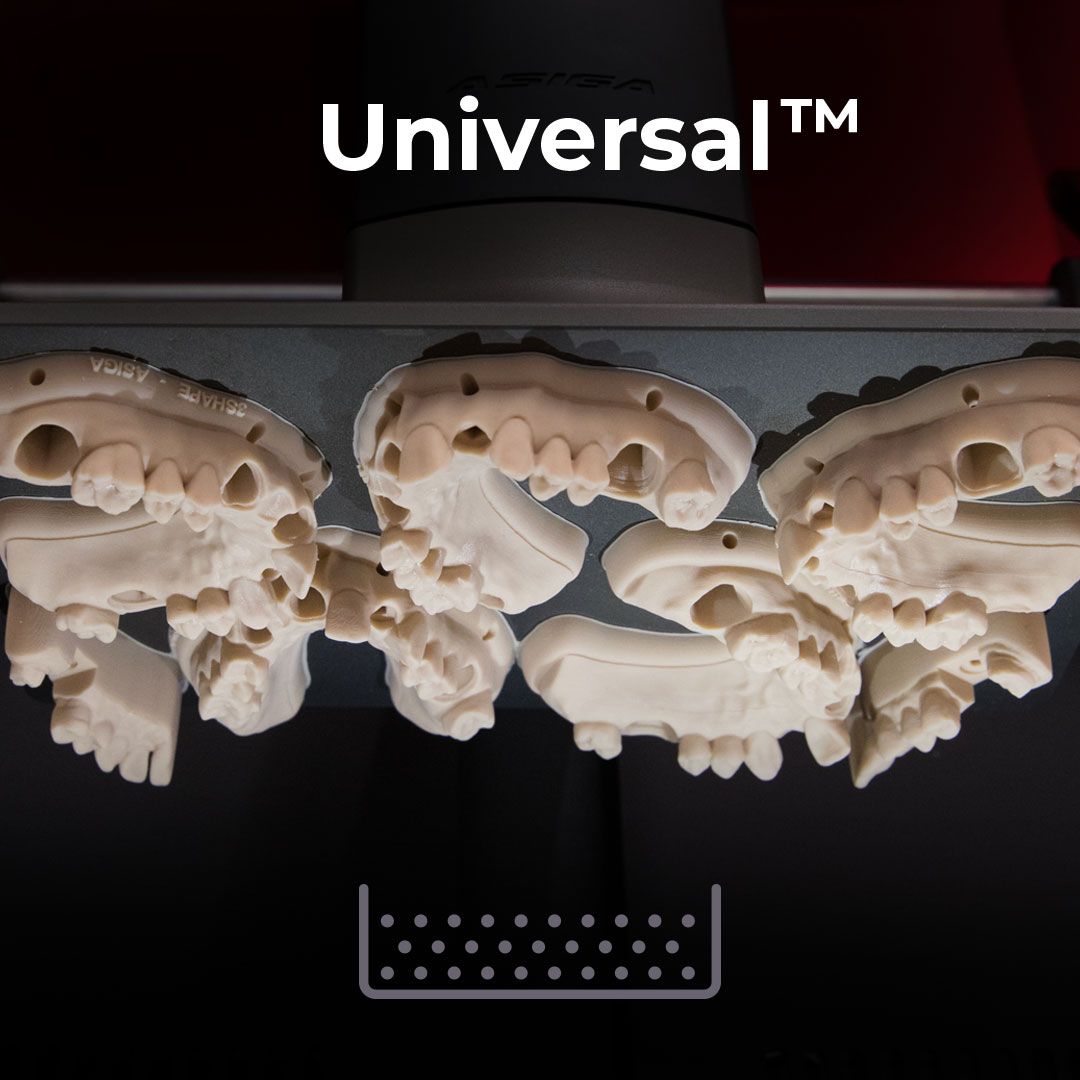
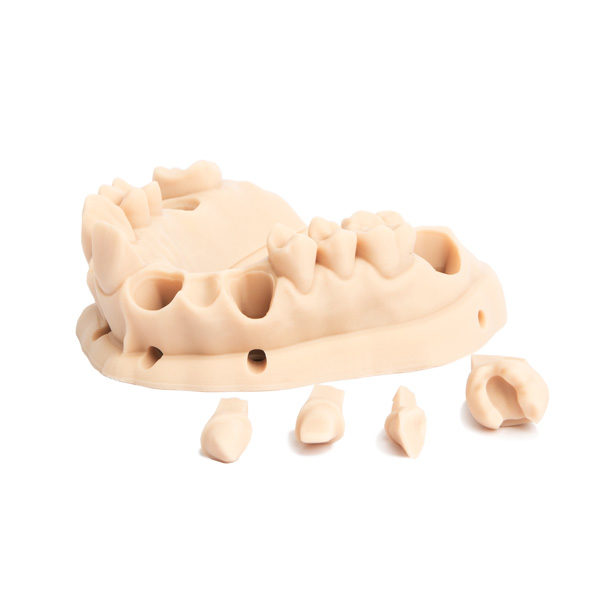
The Universal tray is recommended for a variety of materials and types of objects that require high precision and where a matte surface is desired.
Used for working models, study models, dentures, crown & bridge, try-in dentures, surgical guides, individual trays, bite splints (matte surface).
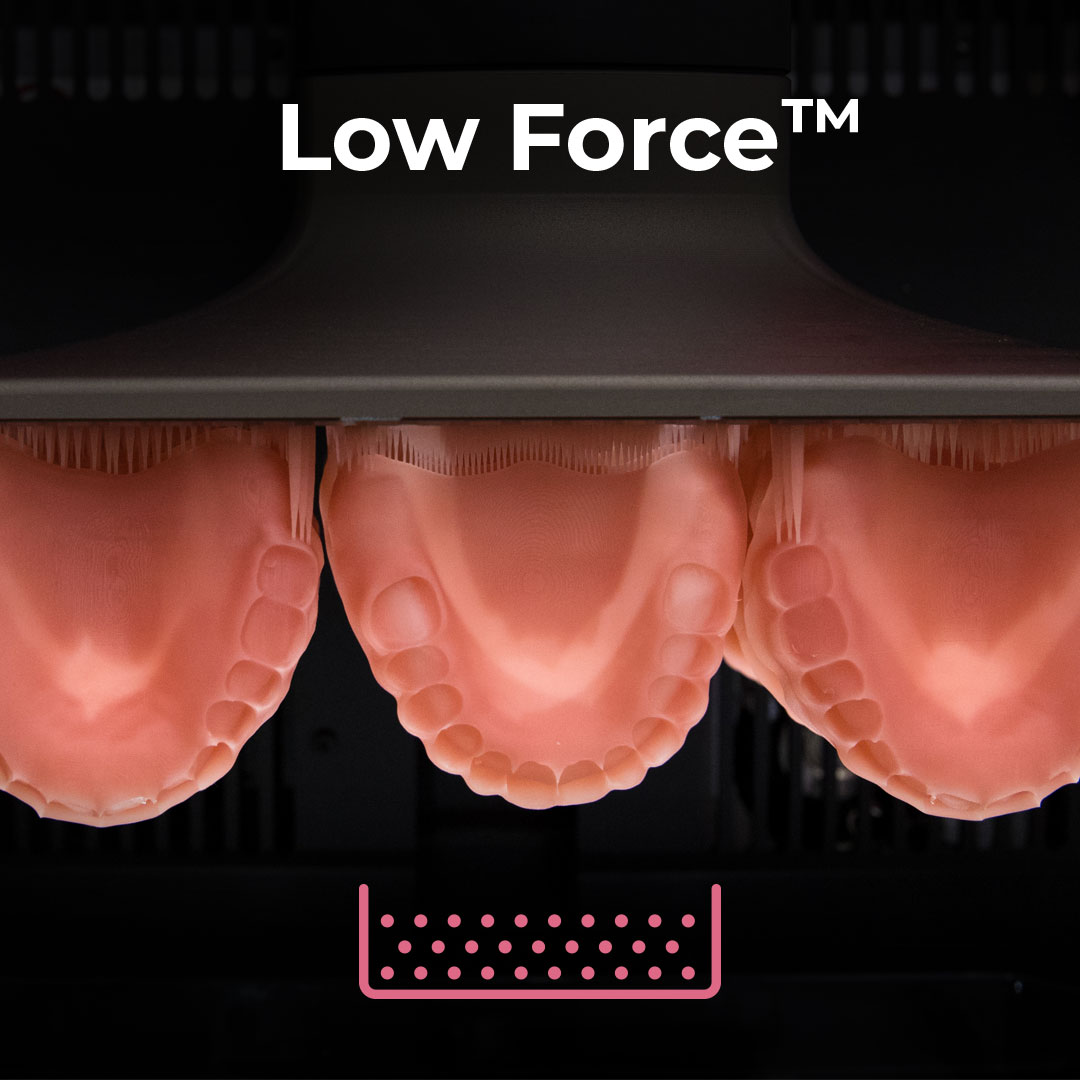
The Low Force tray is recommended for softer and flexible/elastic materials.
It is also optimized for printing parts with finer details and thin walls.
Used for soft splints, gingiva, IBT, partial dentures.